You’re really excited to get out into nature, experience the gorgeous scenery that comes with a snowy forest, and find some peace with your friends… but you’re a bit clueless about how to pack for the weather. This article is the ultimate winter backpacking gear list. It includes everything you need to have a safe and memorable trip.
Winter Camping Checklist
It is essential to be prepared before doing winter backpacking. Forming a packing list of all your hiking equipment and backpacking camping gear will help you get ready for your trip. Simply form a checklist of everything that you need to bring with 2 checkboxes.
Check the first box when you have packed the item. Check the second box when you have used it (in terms of food and consumables) or repacked it at the end of your trip.
This article will dive in deeper in each category, but this checklist will be a good starting point for your winter camping packing list. Use it to inform your decisions, and check this article for more specific information about the right type for you. Remember to use ultralight backpacking gear whenever possible.
Bring The Following:
- Waterproof jacket
- Waterproof pants
- Synthetic hiking pants
- Insulated parka or down jacket
- Insulated pants
- Waterproof shoes
- Long john bottoms and top
- Long sleeve shirts
- Synthetic underwear
- Wool hat
- Balaclava
- Synthetic liner gloves
- Insulated ski gloves
- Down mittens
- Sun visor
- Bandana
- Wool socks
- Backpack (quality is essential)
- Winter backpacking tent
- Quality bivy sack
- Top rated sleeping bag for cold weather
- Sleeping pad
- Collapsible snow shovel
- Trekking poles
- White gas stove and fuel
- Lighter and waterproof matches
- Headlamp and extra batteries and bulb
- 32 ounce water bottles
- Pocketknife
- Compass or GPS
- Map
- Sunglasses
- Goggles
- First aid kit
- Chemical heat packs
- Sunscreen
- Lip balm
- Toilet paper
- Personal locator beacon
- Stove platform
- Utensils and cookware
- Thermos
We think you'll like: 6 Best Ultralight Backpacking Tents Reviews
The Ten Essentials
Winter backpacking gear lists vary widely depending on where you are going camping, whether you’re just doing winter hiking or more in depth snow camping, how many people there are to split the basic backpacking gear for the trip, and how experienced you are.
Despite that, there are some essentials that need to be a part of every lightweight backpacking gear list, regardless of the circumstances. No matter what else you decide to add to your lightweight backpacking gear list, you must not fail to include ALL of these 10 essentials when you make your trip.
Navigation is crucial in the outdoors. If you get lost, then survival becomes much more difficult and your trip can take a dark turn. In the winter, navigation becomes even more crucial. Trails become harder to find and stick to when snowstorms cover familiar markers and fewer people are traveling them. The horizon lines become too foggy to see, and deep snow buries blazes beneath your line of sight.
Carrying a compass is important. When technology dies, and signal fails, in heavy storms, a compass can reliably get you back to where you need to go by showing you the right direction. The tricky thing about compasses is that you need training to use one. It’s not as simple as, “Oh look! There’s north!” In the winter, a compass needs a big base plate, too, so you can use it with big gloves.
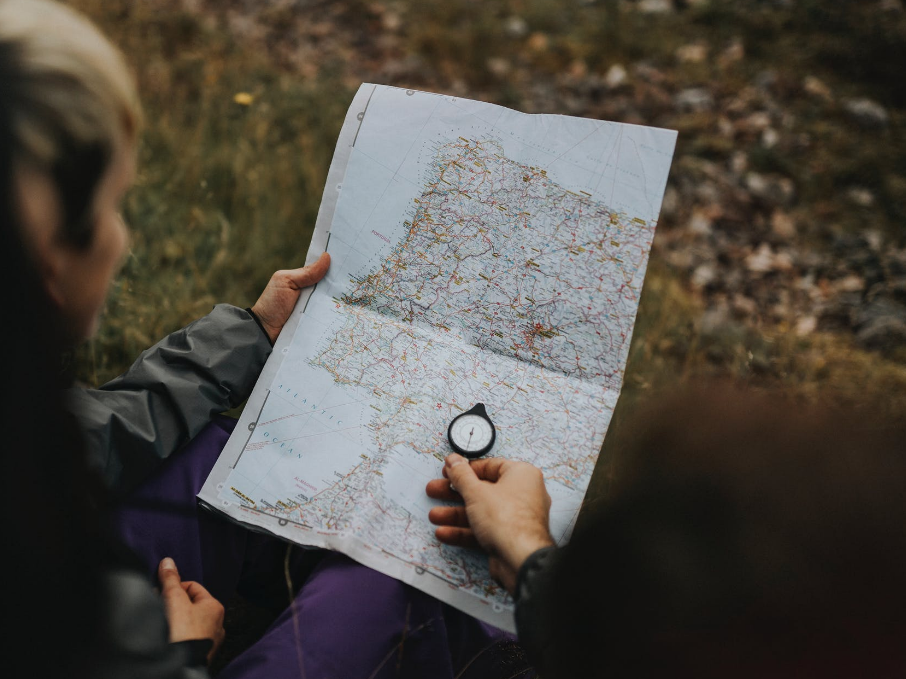
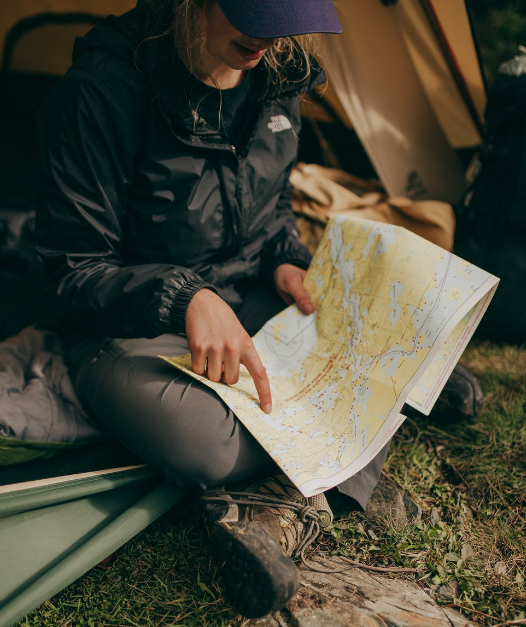
A map is also a good idea to bring along. Make sure it is appropriately to scale. Having one map per person is a good idea in the winter in case anything happens. Scaling in the winter means you’ll want a decent zoom, because it will eliminate tons of smaller features that won’t be visible in the winter snow while still giving you a good scale of where you are in relation to where you need to go.
A GPS is also an essential tool to pack. If you can find a GPS with maps, that will be even better.
These won’t be ideal for technical terrain, but they will show you the route you’ve taken, so if you get lost you can retrace and find your way back the way you came when all the features get washed away with snow. Just remember not to rely too heavily on them, because they will run out of battery and can break.
Remember that you need to sharpen your skills, too. It won’t do you any good to have all this gear if you don’t know how to read a map or compass. Keep winter skills in mind when learning to read a map. Relate ground features to map features. In large-scale mapping, recognize features that are and aren’t located on the map.
Pacing is another great skill to develop. You can use pace beads to calculate how far you’ve travelled by sliding a bead on a track for every 100 meters, but this only works if you know how many paces you take in 100 meters. This skill can save you in low visibility by helping any rescuers figure out where you are for searches. Remember that your pace count will differ with steeper terrain.
It would be wise to take a class that will prepare you to navigate. There are several wilderness survival classes offered by local hiking shops, including classes on navigation by map and compass in the winter.
2. Sun Protection
A lot of people forget to bring sun protection on their winter camping trips. This is a grave error on their part. Remember, just because it is cold does not mean the sun is not out and shining brightly. In fact, sun damage can often be worse in the winter than the summer.
Bring sunscreen. His should be waterproof and sweat proof. Remember that just because you won’t be jumping into any lakes or pools doesn’t mean you won’t be encountering water. Snow is just freezing water, after all. Winter weather conditions mean that you’ll be constantly exposed to water.
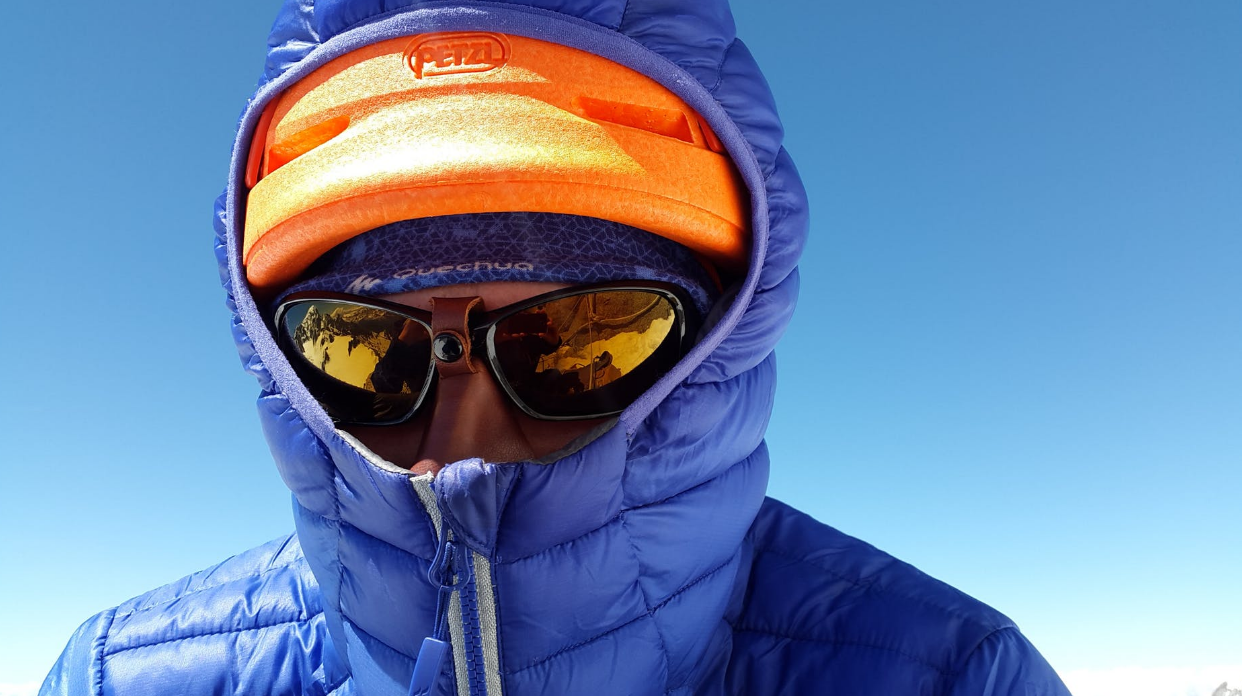
That being said, you will also want it to be sweat proof. You should ideally be dressed in tons of warm and insulating layers.
These layers will keep you safe from the winter cold and keep your body heat in, but that combined with a lot of exertion thanks to the physical demands of hiking rough terrain with all your gear on your back will mean you’ll be sweating a lot.
We think you'll like: Road Bike vs Mountain Bike | Which Is for the City and Which Is for Rough Terrains?
Lip balm is also an essential requirement. Along with winter snow come winter winds. These winds will dry your lips out faster than desert conditions. Bring lip balm with SPF protection to keep your lips from getting dry and burned.
Finally, bring sunglasses. This is insanely important. Most of the time, winter backpacking is done in snowy conditions. If you are hiking though areas that are not covered in forest trees, that sun will be reflecting off the snow. It can become blindingly bright very quickly for a large part of the day. Sunglasses will help you to see in those conditions. They also guard your eyes against the raging winter winds if those sweep through the area.
3. Insulation
Insulation is crucial in the winter weather conditions. When it is that cold outside, survival will come down to keeping your body heat close. This includes your clothing and your gear. While the common trope is that packing more heavy woolen blankets will help, a backpacker knows that any extra weight only makes the hike harder and anything that takes up more than its fair share of space means something else must be sacrificed.
This is why it is important to have insulated items instead of heavy ones. Don’t pack for brute strength; pack smart. This means starting with a small tent. Not only do smaller tents leave room in your pack for other gear, they are also better at keeping heat close to you. The smaller the tent, the warmer you will be. This is hwy a lot of people opt for bivy sacks over four weather tents, although both are acceptable. Using a small tent will keep your body heat in to warm you and prevent the need for heavy, bulky space heaters.
We think you'll like: Bivy Sack vs Tent | In-depth Comparison for Campers & Hikers
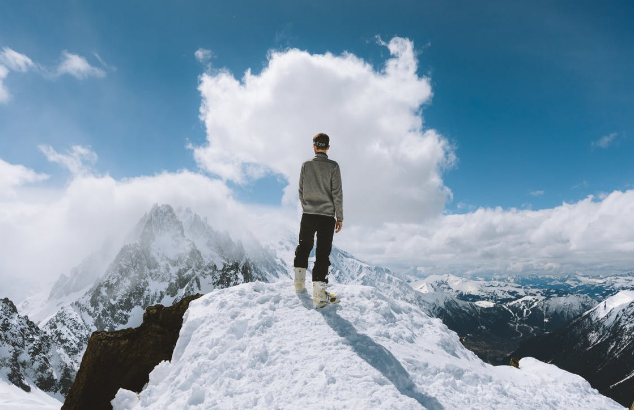
You will also want to bring some insulation for the ground. This will not only make you more comfortable, but it will also keep the cold from seeping into your bones. They don’t need to be big or thick, but they need to be effective.
Try opting for brands that come with their own draw string bags; this will allow you to tie and secure it to the outside of your backpack, leaving more room to pack other things inside the bag.
Bring a tarp to put over your tent or bivy sack. These will keep frost, rain, dew, and snow from collapsing your tent. They also add an additional barrier to keep heat from escaping and cold from entering. A waterproof tarp mixed with a catch bucket or pan will also provide a way to save fresh, usable water in survival situations, and the ones with a reflective top can also provide warmth or a way for people to find you in the sun.
Insulated clothing is also important, but these items will be covered later in the article in greater detail.
We think you'll like: How to Camp in the Winter | Your Camping Experience CAN be Pleasant Even If It’s Cold and Snowing
4. Illumination
You will need some light when you go camping. It’s important to know what to bring for camping to light your way, and for backpackers you also want to consider options that take up less room and don’t weigh a ton.
The headlamp is pretty much a backpacker’s best friend. There are tons of affordable headlamps available to buy, and many of them are bright enough to light your entire camp at night. Bringing these saves space in your backpack and doesn’t require a hand to use, so they are ideal. Several models come with night vision color options so you can see in the dark without giving your position away. Many come with emergency SOS beacons in case you need to be found and several different brightness settings.
Along with your headlamp, you will want to pack a lot of backup batteries and a backup bulb in case either gets broken. In fact, this is such a convenient lighting source that every party member can wear one.
5. First Aid Supplies
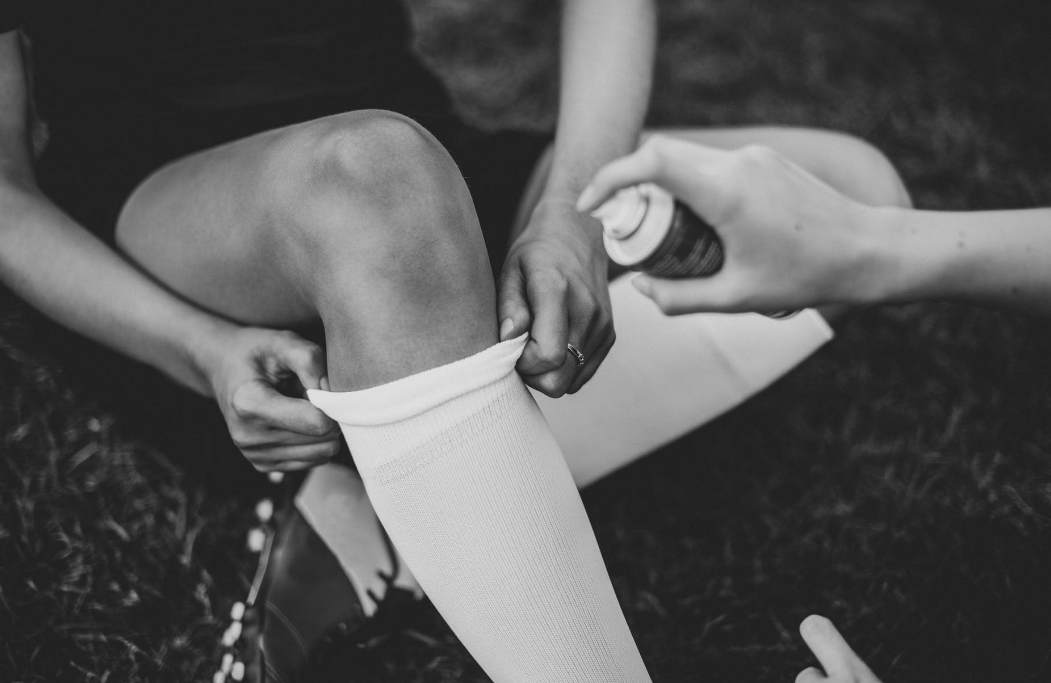
When you go backpacking, you are pretty far away from civilization. This is true whether you bring a camping group of several people, and more true if you are by yourself.
In either case, you will want to be able to take care of yourself if an emergency occurs so it doesn’t become infected before you get proper medical help.
Your basic first aid kit should be waterproof.
Inside, you should have antiseptic wipes, antibacterial ointment, bandage adhesive and Band-Aids of varying sizes, butterfly strips to close larger wounds, gauze pads, sterile pads, medical tape, blister treatment, pain killers (preferably ones that are also anti-inflammatory), anti itch ointments, insect sting treatments, antihistamines for allergic reactions, fine point tweezers, and safety pins.
Because you are in the wilderness and may not be immediately able to get to a hospital for larger problems, you also need to take your prescription medications, some sunburn relief gel, throat lozenges, eye drops, diarrhea medicine, antacids, oral rehydration salts, glucose or sugar tabs, injectable epinephrine (Epi-pen), and Aspirin (for treating heart attacks).
You should also consider materials that can help you make splints for any sprained wrists and ankles or broken bones that may occur until you can get to a proper care facility.
Bring along a knife (or multi-tool), paramedic shears, a safety razor blade, Q-tips, thermometer, an irrigation syringe, medical gloves, a small notepad with waterproof pencil, a medical waste bag (for sharp items), a waterproof container, and hand sanitizer.
We think you'll like: Best EDC Knife Under 100 Review 2021
6. Fire
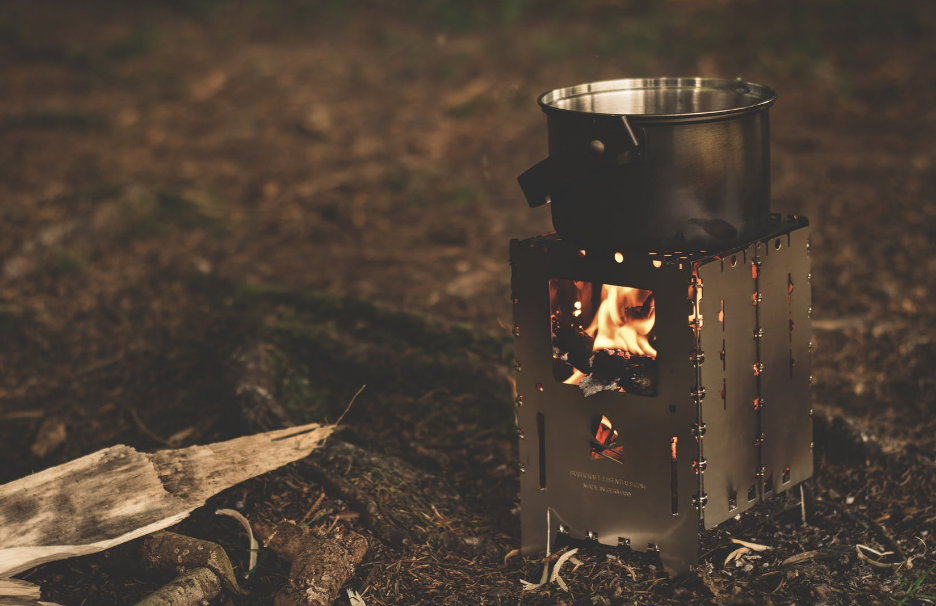
You will want to make fires when you are camped down because these will help you cook and keep you warm. In fact, you can use hot water in a non-insulated bottle, wrapped in a sock as a DIY space heater for your sleeping bag. This means that you will need to keep several methods of fire starting available.
Waterproof matches are a great idea. These are very lightweight and do not rely on fuel or batteries to start. The waterproof matches should come in a waterproof container, as well.
Another way to start a fire that is very small and can be stored in your pocket is a waterproof lighter. They make floating orange lighters that are great because you can see them in the dark and they will float if you lose them in the water.
For winter camping, you may also need to pack a decent supply of highly flammable materials to get your fire started. Relying on wood won’t work as well as summer camping, because the wood won’t be dry and ready to ignite; it will often be very soggy and damp thanks to snowy conditions.
Finally, consider an emergency fire starter. This can be saved and used as a last resort for survival. They will light in any condition with extreme ease. Smart backpackers will carry several different ways to start fires, and distribute 2 to each camper.
7. Repair Kit and Tools
Every camper needs some basic survival tools. These will be used to repair your gear, defend yourself, and survive in an emergency.
First, bring a good multi-tool. This is some serious multi-purpose problem solver. You can use your knife to prepare food, make fires kindling, work with Para cords, defend yourself against animals, in first aid cutting, and more. Bringing the multi-tool instead opens up even more helpful features, like scissors, screwdrivers, pliers, and more.
Repair kits with multi-tools are in great shape thanks to the tools. They should also include super tough duct tape. This can patch up your parkas, keep your shoes soles in place, repair split tent poles, and more. In fact, in a pinch, you can also use it to prevent blisters by taping your heels.
Zip ties are also nice to have. They can fix straps, replace broken clips on snowshoes, and work as zippers. Bring some Para cord, too. It’s extremely strong, so you can sue it as shoelace, emergency wrap for broken clips, and fire starting materials if you melt the end of it.
Have a few spare buckles so you can swap them onto broken backpacks when necessary. Adhesive patches also let you stop leaks in your air mattresses, close holes in your parkas or tents, and fix whatever tears happen. Bring a needle and threat, too. These are an extremely versatile tool that lets you repair everything from clothing to gear. Sneak some extra buttons in the kit, too.
Tent pole sleeves will help you use broken poles until you get back home and can replace them. Slide the sleeve over the pole’s break and tape it into position and your pole will be usable.
You will also want a mini repair kit for your stove if you’ve packed one. Keep some spare O-rings, oil, and tools.
8. Nutrition
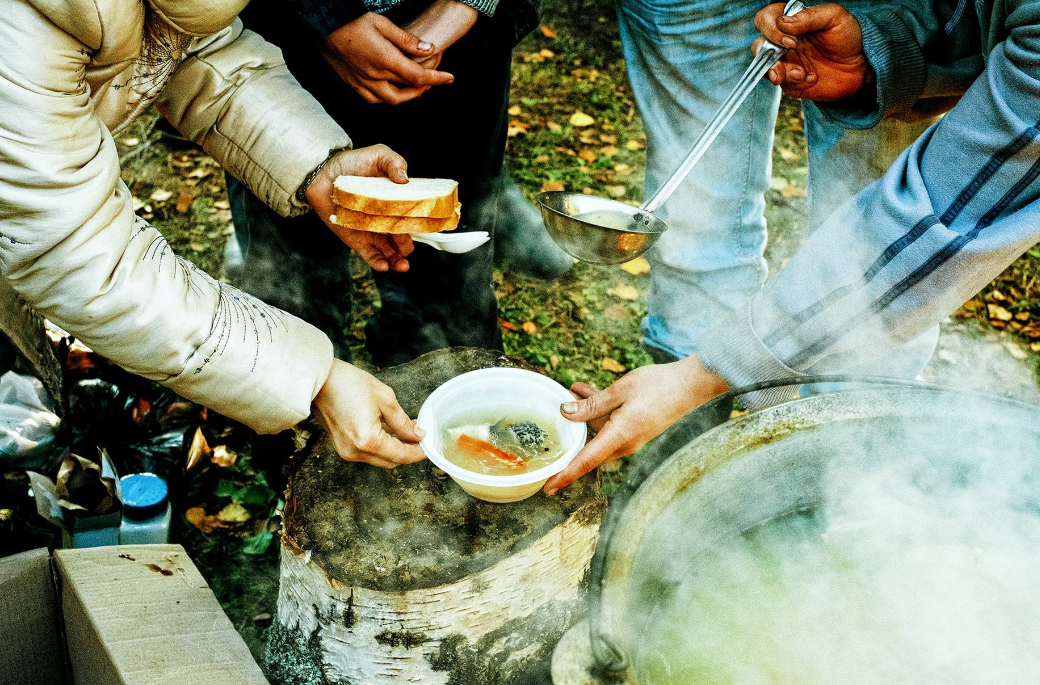
Plan your meals carefully. You want to make sure that you get all the required nutrients while you are on the trail. You will need a lot more protein than usual to keep your energy high.
Another great tip for nutrition is to pack extra food. You never know when you may experience a delay getting back home from the trail thanks to bad weather conditions. If you are stuck surviving in the cold, your body will need the nutrients to make it somewhere safe or survive until you can be rescued.
9. Hydration
You will also need to stay hydrated. Your body can survive for a while without food, but water is critical. Bring at least 2 water bottles, and one of them should be insulated. Remember that water freezes from the top down, so store water bottles upside down to prevent the top from freezing.
You will also want to bring along a way to keep your water treated and purified, especially if you need to rely on melting snow to make drinking water in survival situations. The best way to purify the water is to boil it, but when that is not an option you will need another method.
A decent option is a Steripen. If all your water is in liquid form, this can treat the water perfectly. The thing to remember is that if the batteries freeze, you’re toast. Wear this around your neck to keep it warm.
To remove chemical contaminates, you will need to bring a mechanical purifier and work to keep it from freezing over and becoming useless.
Water
You will want to pre-hydrate before going backpacking in the winter so that you are not already close to dehydration before you even begin. This also means that you don’t have to drink as much throughout the day as otherwise, although you do still need to drink regularly to keep hydrated. Because water freezes, you will need a wide mouth bottle instead of a hydration bladder or hose. Try to find an insulated, wide-mouthed bottle that can clip to your clothing.
10. Emergency Shelter
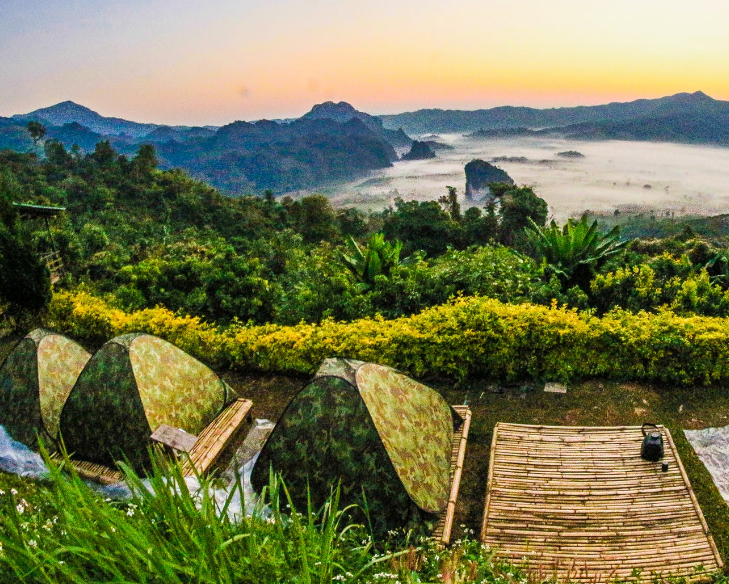
You also want to bring emergency shelter while you travel. A lot of backpackers will skip tents and tarps in favor of sleeping bags and hammocks, but in the winter this could cost you more than it saves in gear space and weight. The easiest thing you can do is remember to bring a bivy sack or winter tent along with your sleeping bag.
You will definitely want to pack a large tarp. With one of these, you can dig a trench into the show and cover yourself. Remember to make it a large enough tarp for your needs. The area around the edges of your tarp will be a blow in zone, so you want plenty of extra space.
Bivys and tents that are weather rated are also great options. If you buy one that can withstand the cold, you will stay warm through the evening. Consider buying one in a very bright and unnatural color, like orange or red, so that you can be found in an emergency situation.
Thermal Emergency Blanket
One of the most critical parts of any emergency shelter is the thermal emergency blanket. These serve significantly more purposes than just keeping you warm – although they do that extremely well. In fact, this is one of the most critical emergency survival items you will ever have.
In an emergency, you can use these highly reflective blankets as a signal device. String them up so they move in the breeze or fold them in different directions for signals.
You can also make them into water by using the heat to melt sow and funnel it into a container. It will protect you from the rain, twist into strong rope, and double as an improvised floatation device by tying off the ends. You can use it as foil to warm food with a bit of coal or heat, use it as a sling or tourniquet, make it into gaiters, boost signal by using it as an antenna, use it for fishing, and use it as a tablecloth.
Beyond the Ten Essentials
Aside from the main 10 things needed to survive, there are a lot of other things you will want to pack to be prepared for your trip. Here are a few more things to keep in mind when packing.
Clothing for Hiking
When you are hiking, it is important to know exactly what to wear. You want to maximize warmth but minimize weight, and be prepared for the winter elements, which will be much wetter and colder than summer backpacking.
You will learn what to wear for each layer below, but for now here are the important materials to know about for hiking wear.
Wool is a really great material. It’s warm and naturally breathable; it wicks away moisture, and it dries quickly. While older wools were pretty itchy, they have now figured out how to make soft and comfortable wool clothing.
Polyester and nylon are some great synthetic materials that are durable and quick to dry. These are nice for added layering and warmth and also good for sleeping in at night.
Avoid silk and cotton. While they can be extremely comfortable and lightweight, they take forever to dry and are terrible at insulation.
Clothing for Layering
Layering is crucial for winter backpacking. You need to be strategic in order to keep yourself both warm and dry.
The bottom layer, near your skin, should be something that will wick moisture away from you and through to another layer, so that both you and this bottom layer stay dry. This layer should be thin and specially made for this. This applies to your underwear, as well. You do not want to wear cotton underwear.
The next layer should be designed for insulation. This layer’s purpose is to trap your body heat and keep it close to your body.
Wool, fleece, and down are great materials for this option, with wool being the heaviest and fleece the lightest, and down being the one most backpackers prefer.
Keep in mind that down is only fabulous when dry; this means you’ll ah veto work extra hard not to let it come into contact with snow and water.
After that, you can add a heavier protective layer. This layer is optional, and most people use wool in the coldest conditions. The next layer will be some kind of insulated vest. This should be lightweight but effective; synthetic down alternatives are recommended.
Your outer layers should be completely weatherproof – from both rain and wind. This layer will guard you against the worst rain, sleet, snow, or wind you will encounter. This layer is usually a rain jacket or parka, and can either be a light shell or heavier material. Gore-Tex is a great option for material. Winter backpackers often layer a heavy jacket with a lighter shell for versatility.
Remember that you will also need several types of gloves. You’ll want to wear some light ones at the bottom layer. Consider buying a pair that has fingertips that will work with touch screen phones. This will prevent you from having to remove all of your gloves and expose your skin to the cold. On top of these, you will want to wear waterproof, windproof, insulated gloves or mittens. Find a pair that will still work with you when you are accessing your water bottle or other gear.
You’re also going to want to wear a wool or fleece hat. If you’re hiking in windy conditions, scarves, bandanas, earmuffs, and goggles are also good ideas. Just remember that if you wear earmuffs, you will need to keep your entire party within sight of one another and work out some predetermined hand signals.
Clothing for Camp
When you make camp, your will be able to shed layers of dirty, sweaty clothing. Starting up a fire can keep you warm without all the extra, bulky layering, and if you have properly packed your sleeping bag and tent gear, you should have little issue staying warm overnight.
For camp, you should pack and keep a clean tee shirt and bottoms that you will only wear while sleeping. Add a pair of socks to keep your feet warm overnight; these should be wool or fleece for extra warmth.
When it comes to warmth for weight, backpackers usually prefer fleece to wool. Keeping a fleece pullover that you can wear when you make camp instead of the bulkier parkas is also a great idea.
Footwear
Your footwear choice is imperative in winter backpacking. You need to dress for the snow and wet trails, and make sure that you are safe.
First, your socks should be completely waterproof. This will prevent your sweaty feet from dampening the insulation in your shoes and making it ineffective. Wet insulation makes for cold feet. Start with a thin polyester liner sock, and then add a wool sock or a VBL sock over those. Always pack several pairs of spare socks for sleeping and in case a pair gets soaked.
After that, you will want some waterproof, insulated boots. Sorrel makes a nice pair that comes with removable liners that can be worn while sleeping to keep you warm. Your boots should be at least 8 inches high; if they aren’t then you will also want to wear knee high gaiters to cover your boots.
Assorted Personal Items
There are other things that you will need to pack in order to have a fun and comfortable trip, too.
Hand warmers will keep you warm at camp, when you want to remove your mittens. Bring your permits if you are backpacking across restricted land, and add a guidebook or field guide for your local area.
Bringing a camera and binoculars will help you have some fun sightseeing in the beautiful environment. It is also helpful to have a little bit of money and a credit card, along with some identification, in case of emergency.
Bring toiletries, like toothpaste, and your toothbrush. Hand sanitizer and a quick dry towel will also come in handy. Leave a trip itinerary and map with a friend and another under the seat of your car just in case people need to rescue you.
Electronics
Some good electronics to bring are two-way radios. This will make it easy to communicate with your party if you split up for any reason, like using a bathroom or exploring for firewood.
You can also bring your phone, although investing in a satellite phone and messenger would be more helpful in emergency situations. Consider an MP# player and headphones if you like music for walking or sleeping.
